I’ve touched on quite a few blog photography tips throughout my posts. I feel as though I’ve only scratched the surface, despite giving away different settings and explaining what I do in front of and behind the lens. I want to go further in depth of how I take my self-portraits and the equipment I use.
If you’ve been following me on Instagram, you know that I do self-portraits a LOT. (Pst, side note, I also have THIS account where I post NYC street style photos I take, focusing on NYFW.) I travel with my light tripod, a remote control and a couple of lenses. My big Saint Laurent tote comfortable houses all the equipment I need to take photos of myself.
Although I shoot with others once in a while, I still rely on myself to do all the work in front of the camera and behind it. I’ve talked to so many bloggers (you might be one of them) who tell me they’re frustrated when planning shoots. It’s legitimately hard to plan everything out and get a time that works for everyone. Not only that, the photographer might not be comfortable giving away unedited shots.
Related: The Photographer-Model relationship explained.
You Should Be Comfortable Doing Self-Portraits
A photographer won’t always be readily available, and if your business relies on fresh content and outfit pics, you need to get comfortable being in front of the camera with no one behind it. It might seem intimidating and a little embarrassing when done in public, but think of it this way: it’s your job.
Practice at home or in secluded (but safe, naturally) areas when you start off so you can get comfortable. After a while, you’ll find that you’re not paying attention to people. You’ll be focused on getting the perfect shot. You’ll have complete control over every aspect of the photograph!
The Equipment
I picked up a $10 wireless shutter release remote control for my camera on Amazon. I had one for my old Canon, and now I have one for my new Sony model. If you go to Amazon and search for wireless shutter release + your camera model. Here are three top sellers for a Canon camera (that I used before), Nikon, and Sony (that I currently use):
My tripod is super light, so it’s easy to carry when I’m on the go. It weighs less than a pound and fits comfortably inside a tote. Also, I typically use only one lens when I shoot, my all-purpose Canon 24-105mm. It fits almost all situations and produces crisp, decent photos no matter what the condition.
Indoors, I sometimes use a lighting kit (Speedotron) that’s a bit too old to be found on the internet anymore. You can purchase a similar kit from Profoto:
I use Adobe Lightroom to adjust my toning, and very rarely open up Photoshop at this point (unless I’m doing intensive editing). Typically, I’ll pump up the contrast a bit, tone down the vibrancy and saturation, adjust the exposure as needed and adjust the highlights/shadows to bring out as much detail as possible in the photo.
Posing for your Photos
Here’s where you need to start getting creative. You need to play around with the angle of your camera! Obviously, everything depends on what you’re looking to do with your photos. If you want them to pop with a bit more drama or create a narrative or a story, angle the lens in different directions. Don’t be afraid to keep switching it up.
Below, you can see my contact sheets from a shoot I did in my living room today. I spent about an hour and a half adjusting and readjusting for a variety of photos:


As you can see, I did a variety of lighting and camera settings to have more to choose from. Some photos have a drastically different feel than others do!
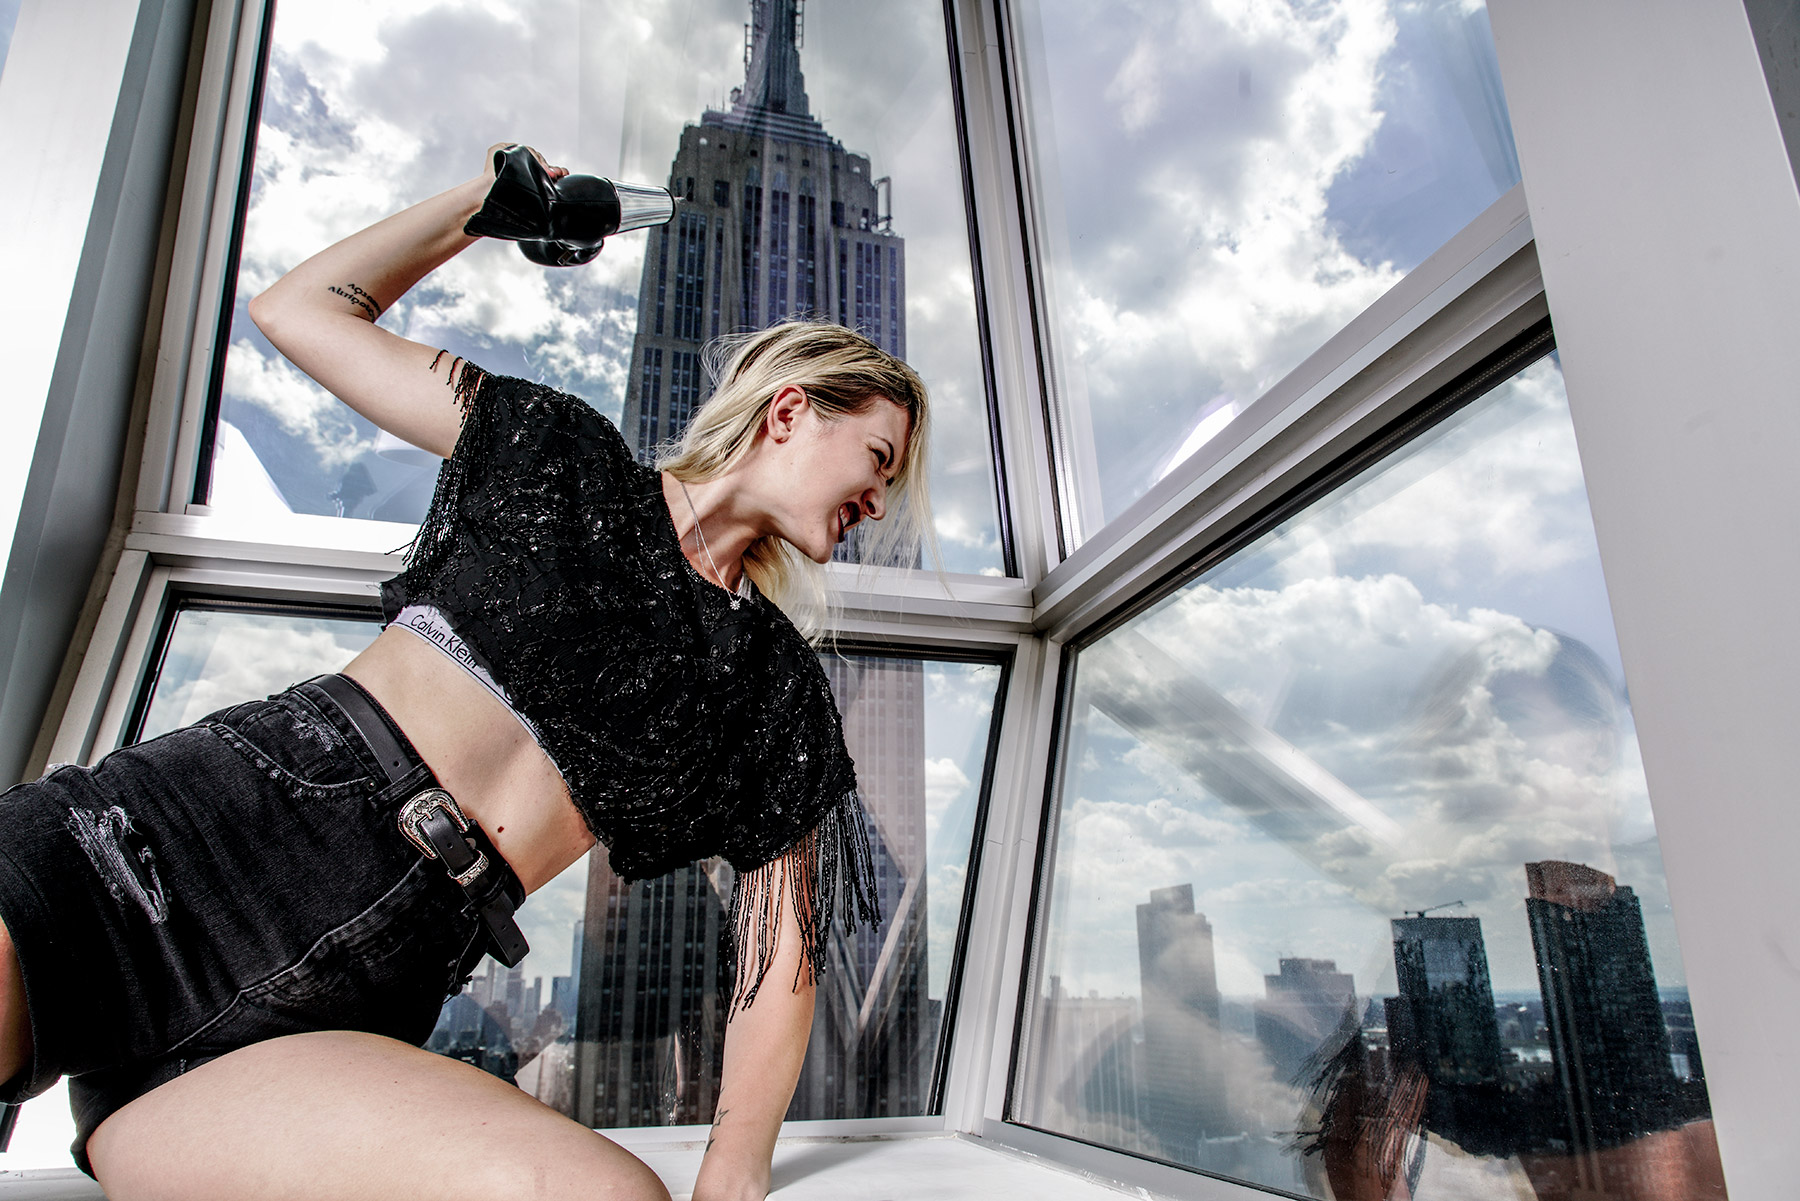
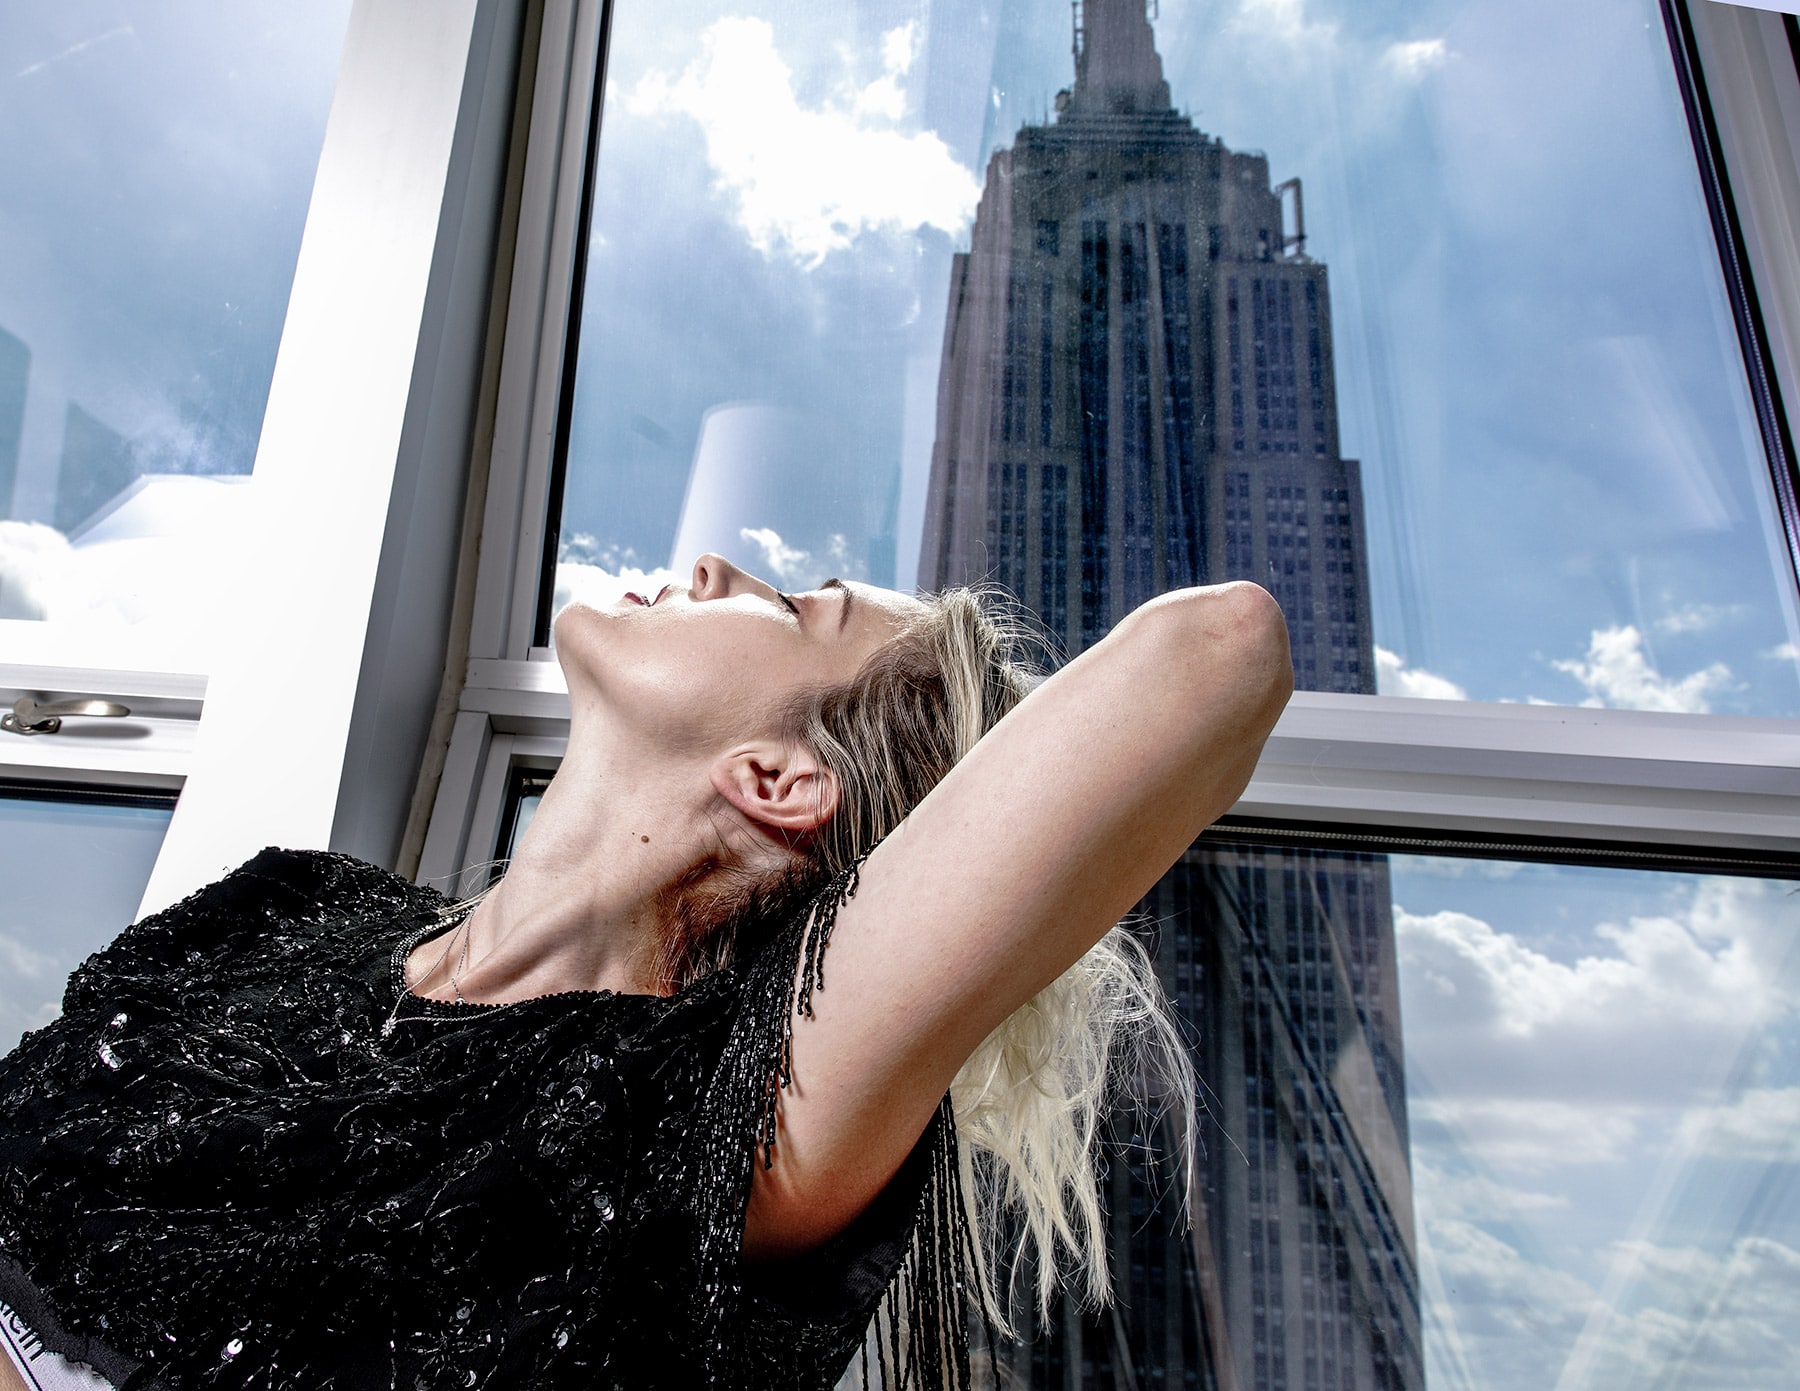
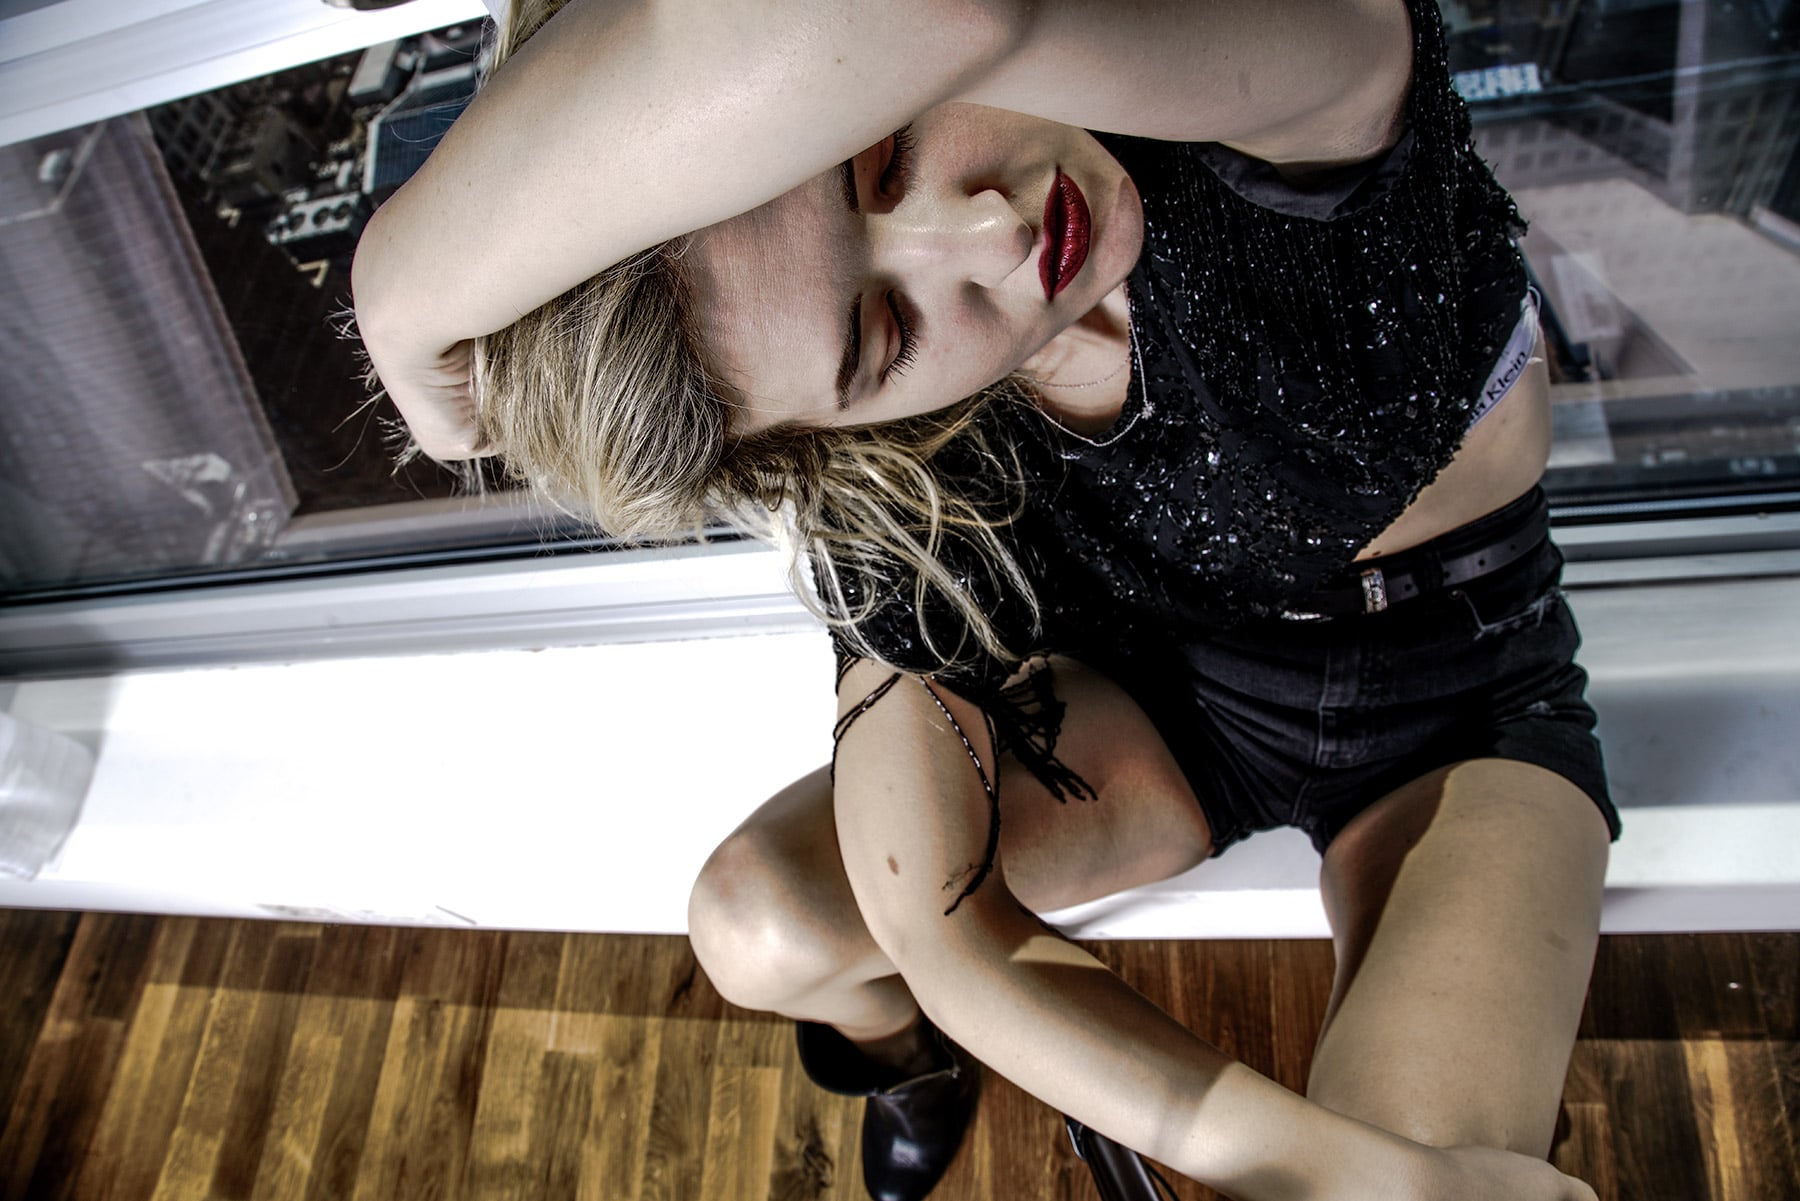
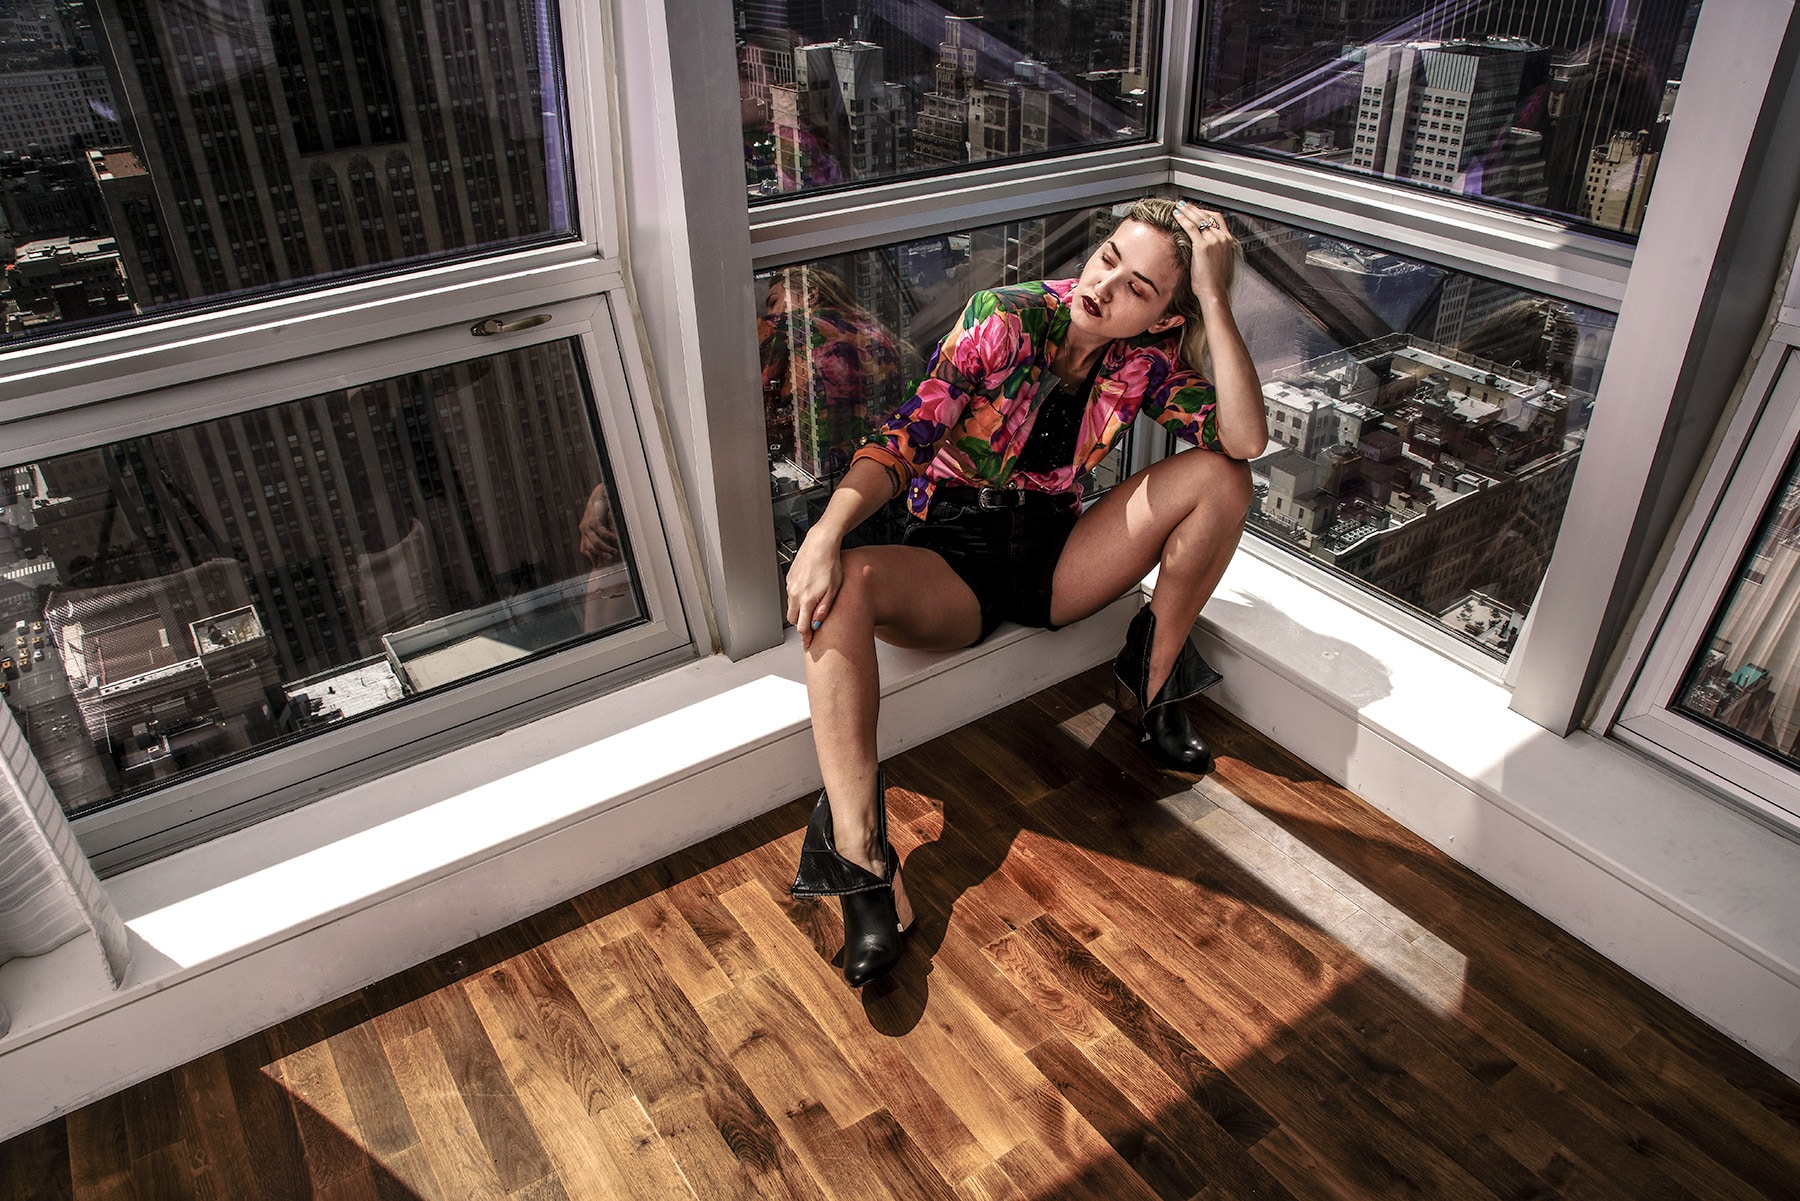
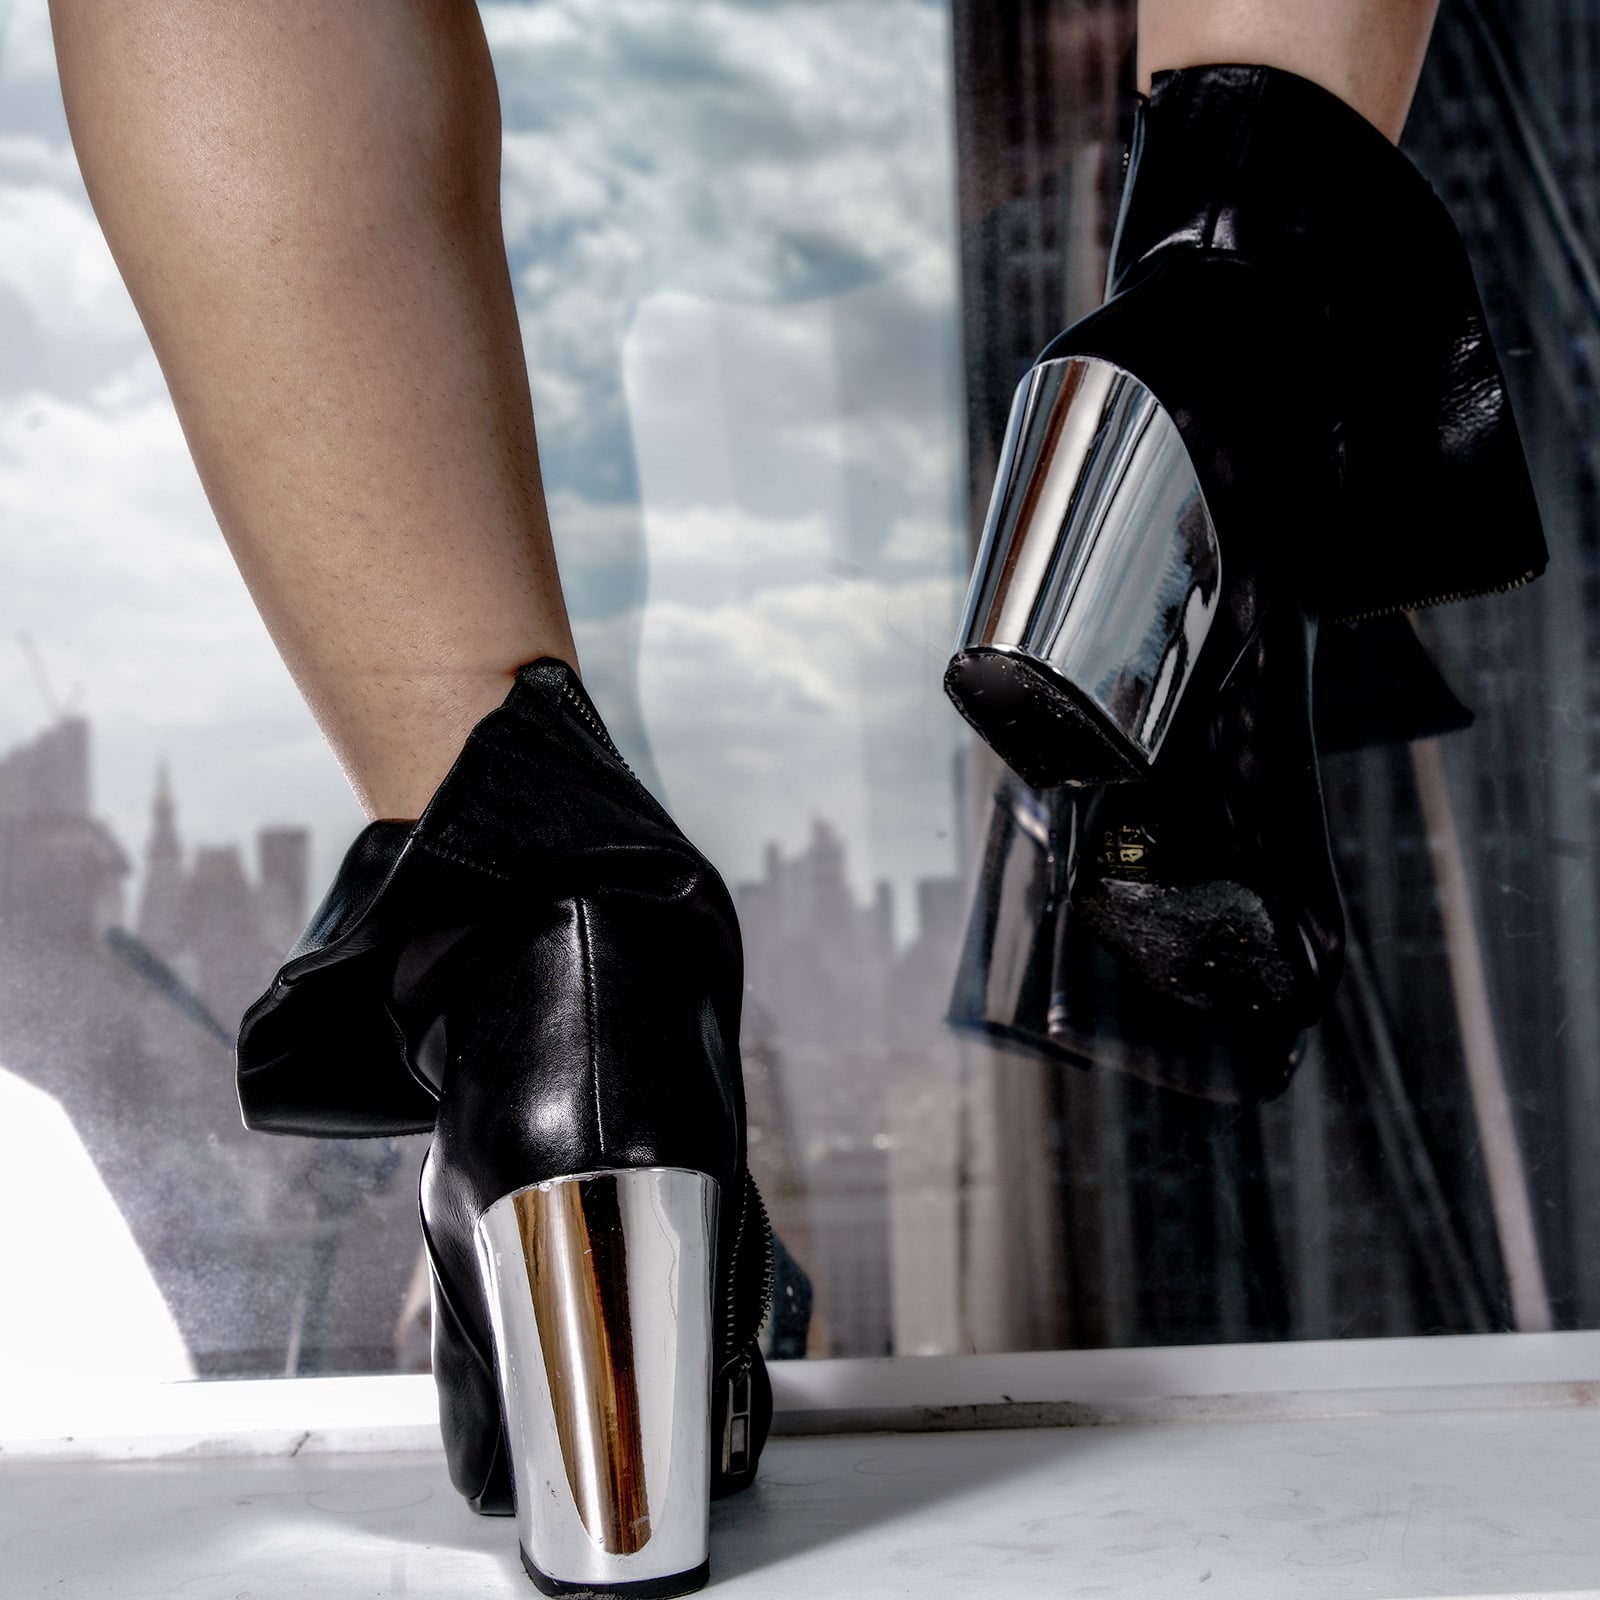
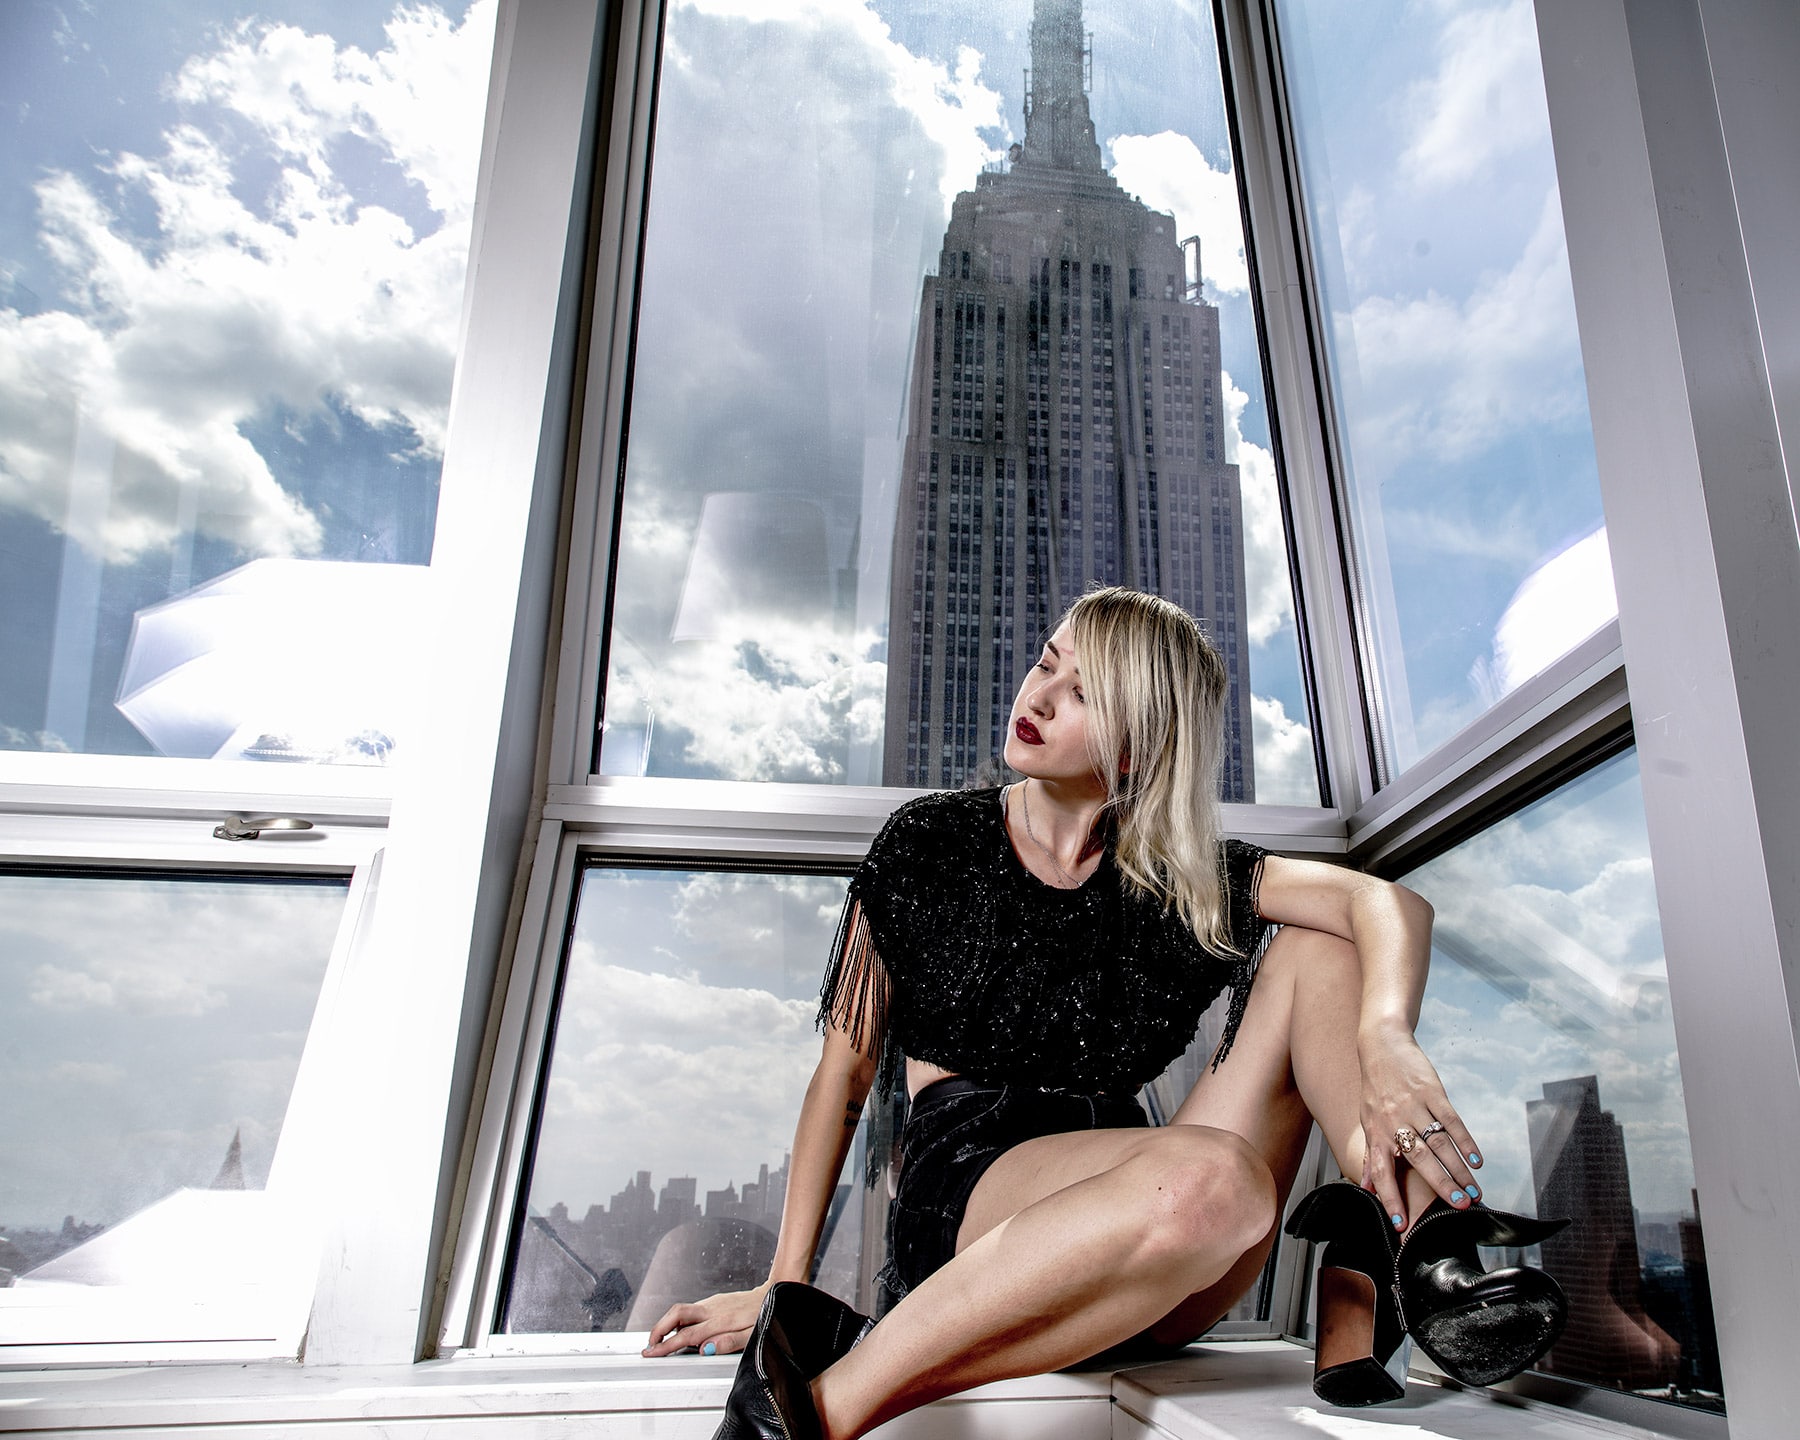
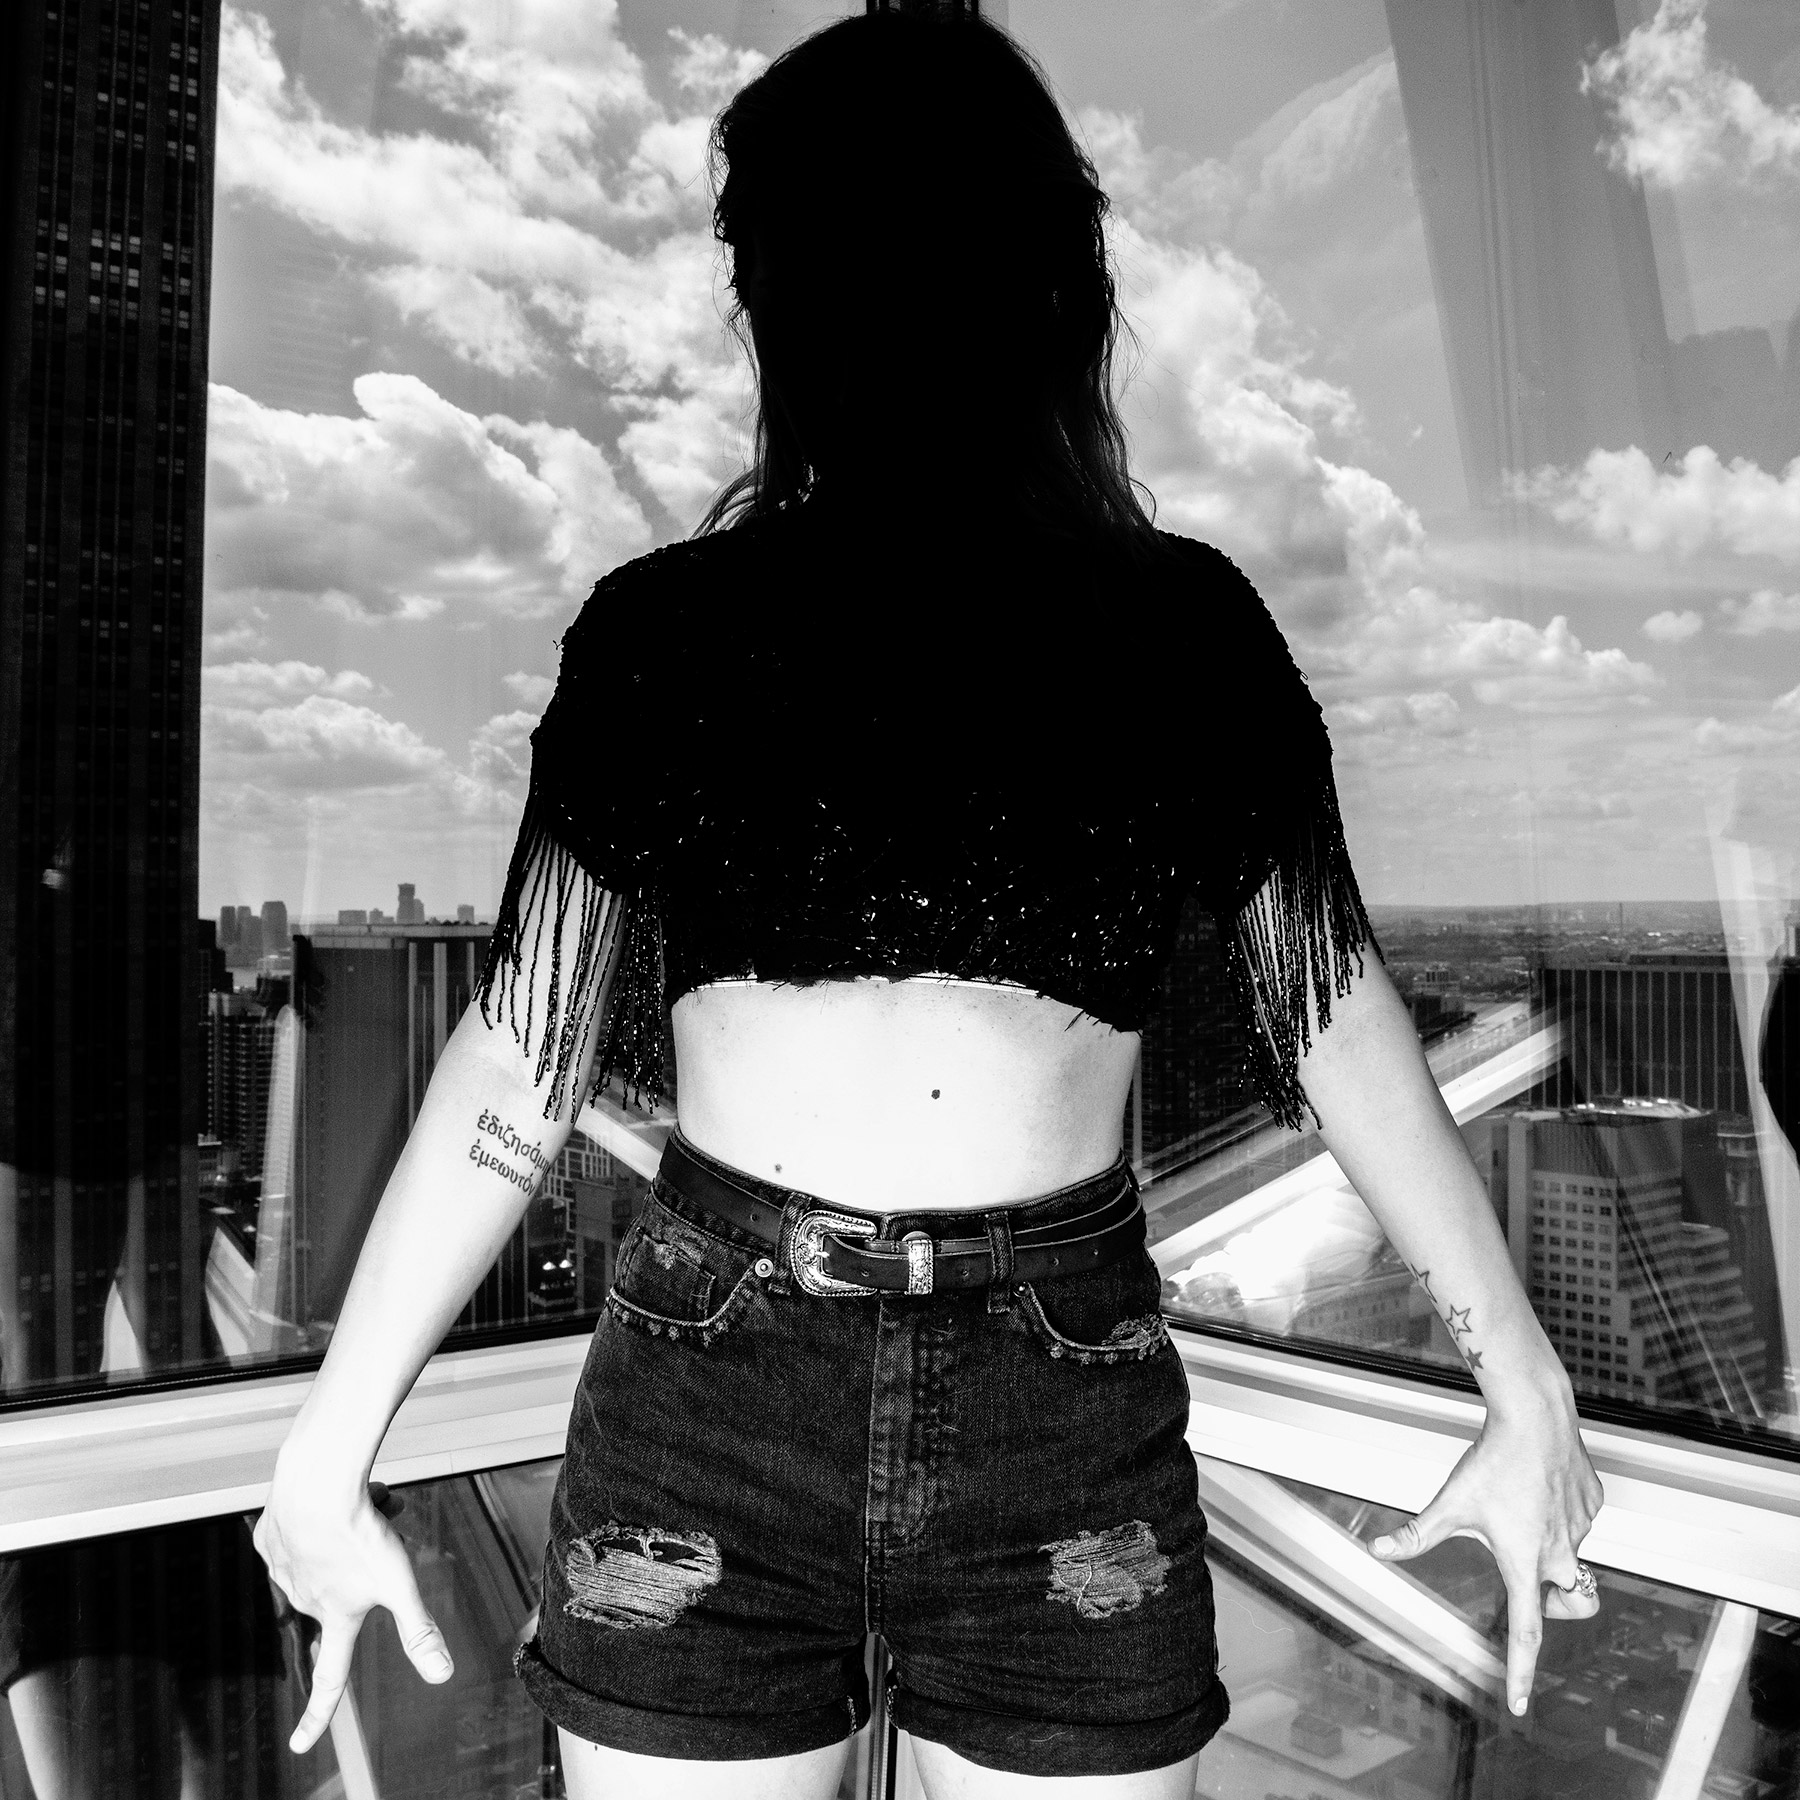
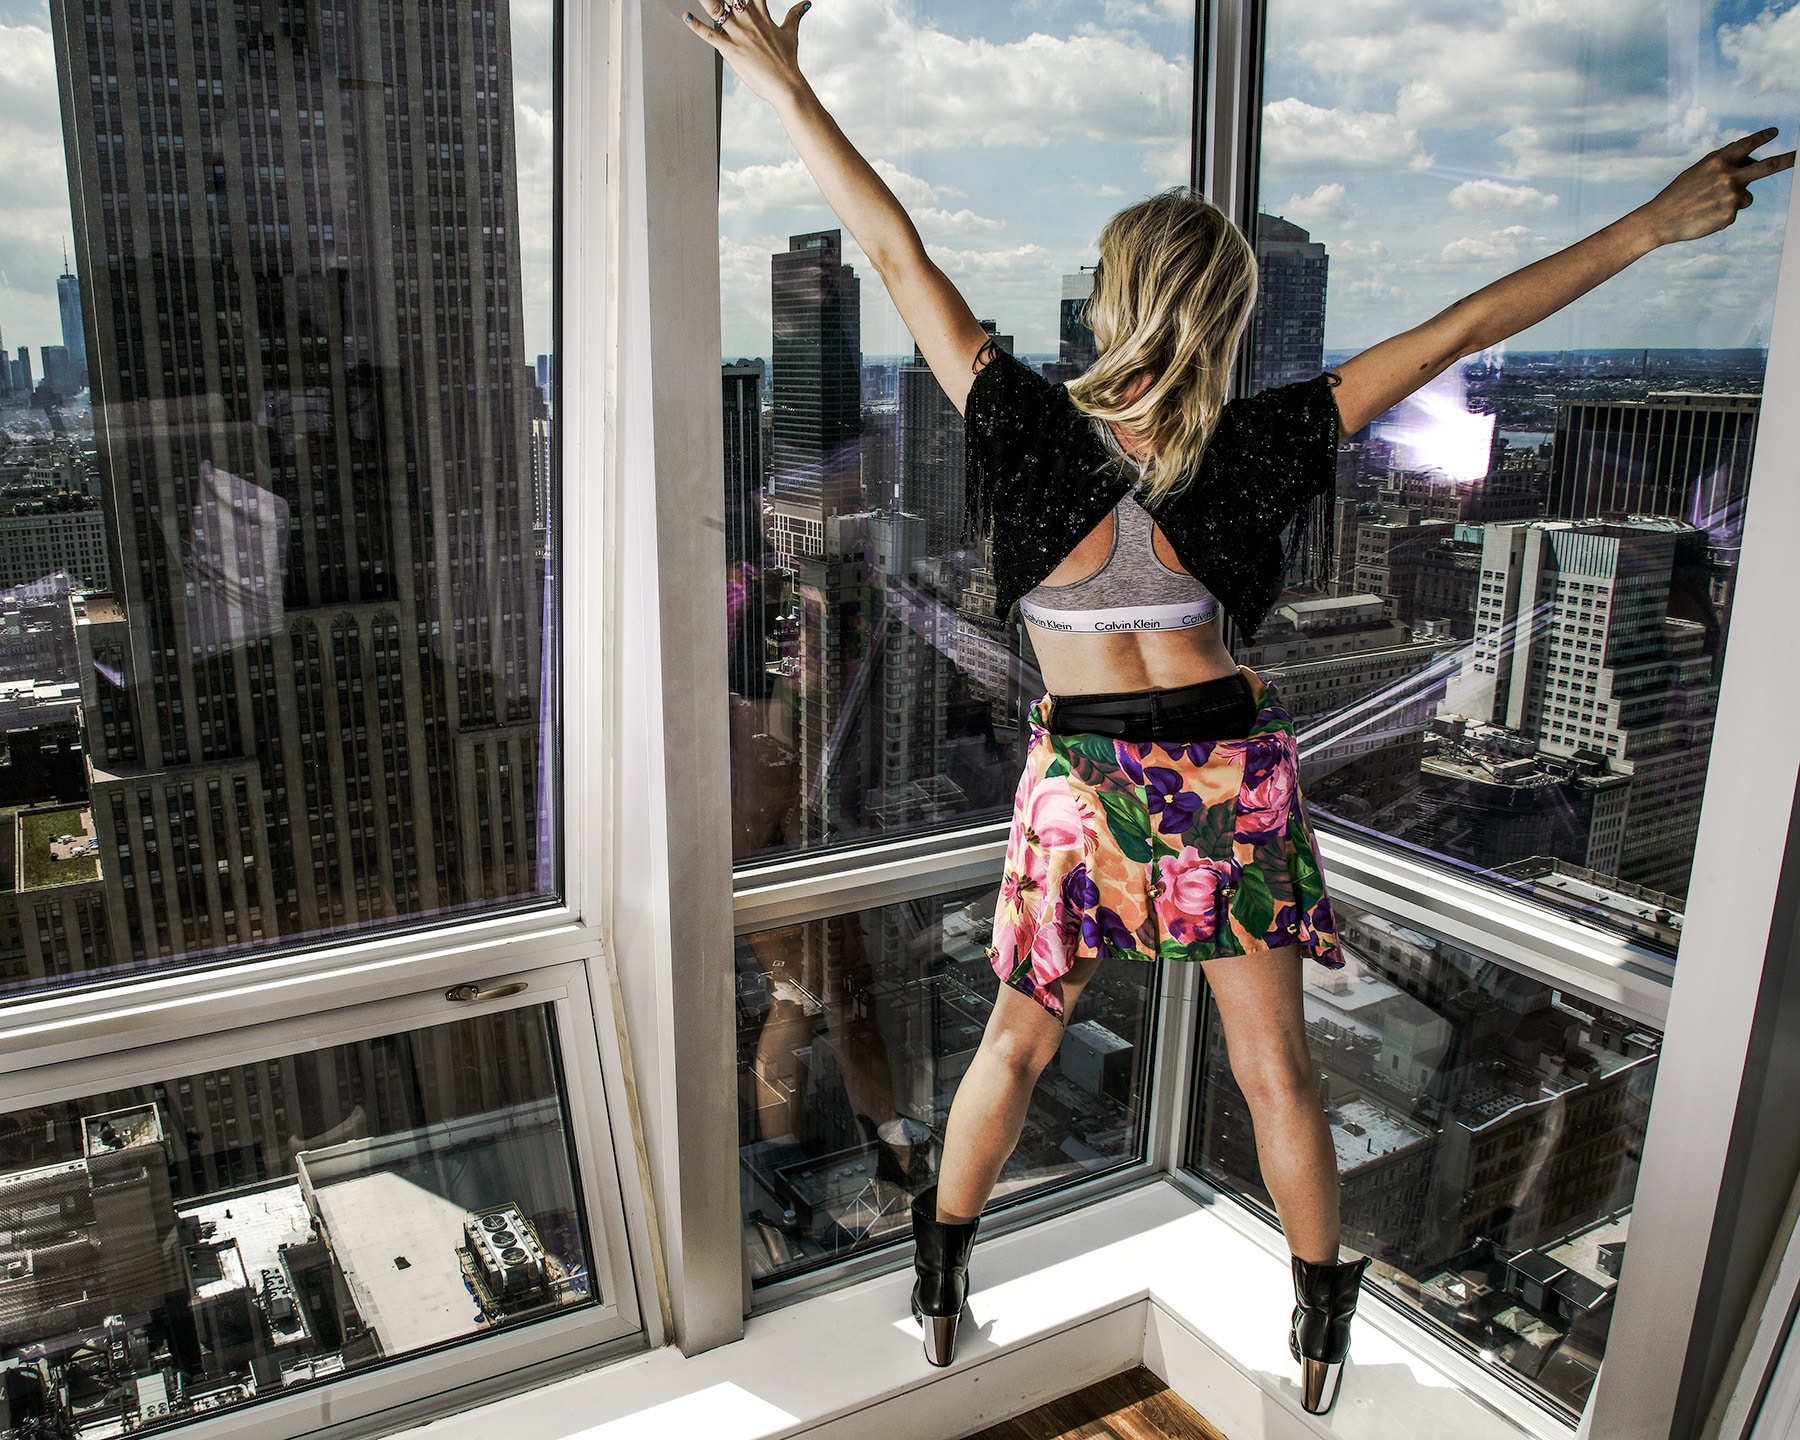
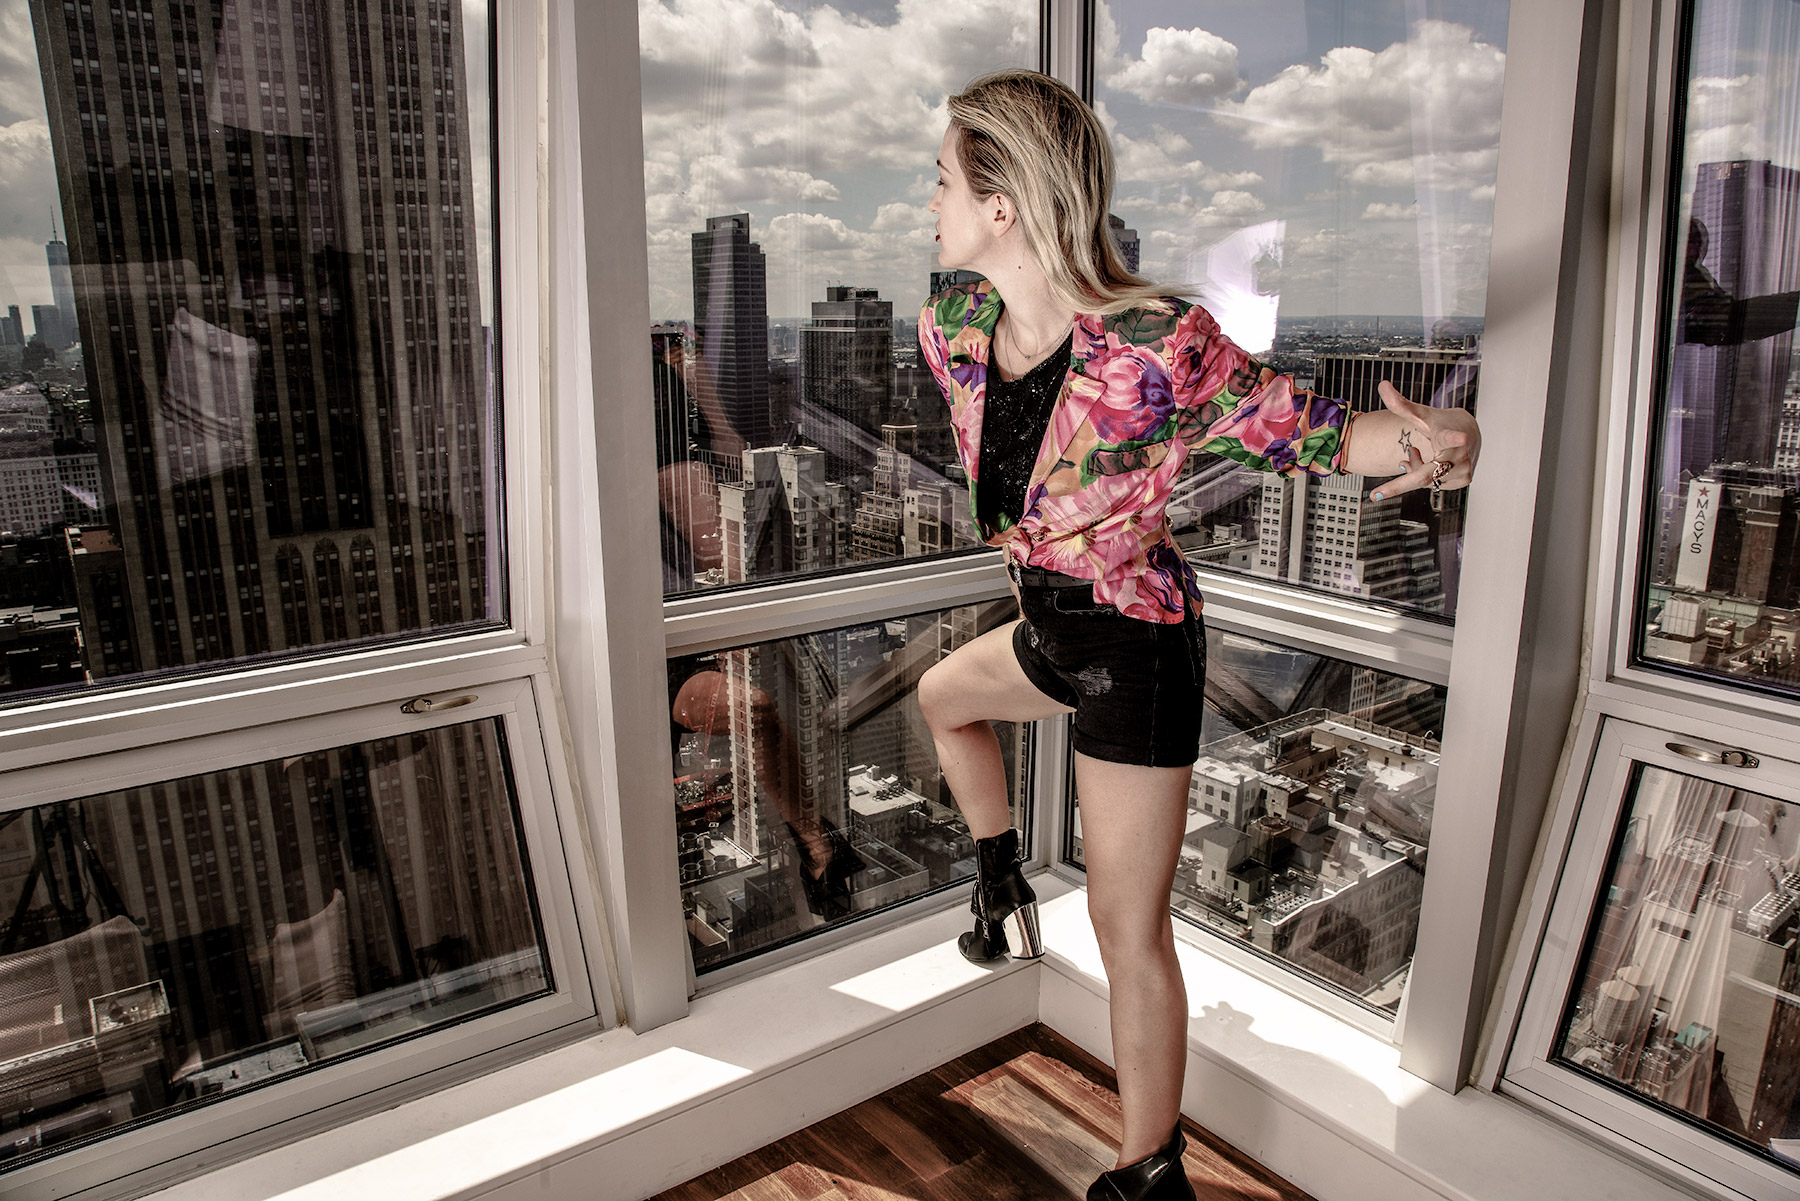
If you’re a fashion blogger, or someone who’s modeling in front of the lens, doing your own shoots is INTEGRAL to understanding how to work it for the camera. Modeling and posing for the camera goes beyond just being a pretty face. Truly modeling produces THESE kinds of results:
The Final Results